The final project in my ME103 Product Realization course required that I design and machine a product while incorporating two core fabrication processes. Influenced by a lifelong fascination with precision watches and discussions with the professor, I decided to attempt a stainless steel watch case, using only laser cutters, manual mills, and manual lathes. The project required continuous redesigns to be feasible without the use of CNC, and I eventually decided on a 3 part sandwiched case design held together with 5 bolts.
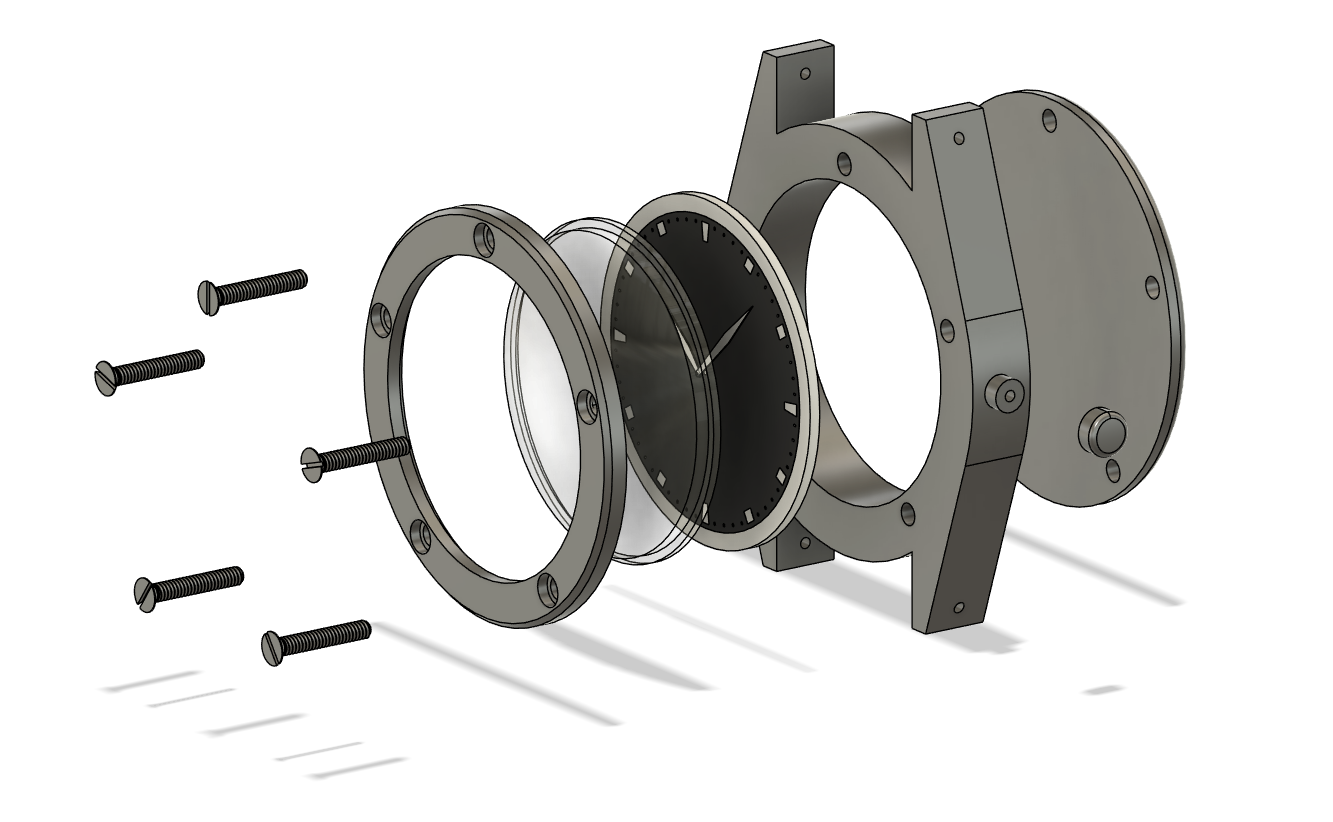
My project started off ambitious and overscoped. However, listening to feedback from TAs in the class, I was able to make it into a more feasible product by changing geometries and construction methods that would work better with available tooling. After these initial changes, I was finally given a reluctant go ahead by my TAs, who suggested I was being overly ambitious, and started my prototyping using 3d printers.

I ordered my screws, NH35 Seiko watch movement, and 316L metal barstock, and set off. Through the prototyping process I made some improvements to the case design, including using the bezel to pin the acrylic crystal to the case instead of using the conventional press fit and changing the faces on the top and bottom to be parallel so it could be mounted more securely in vices.
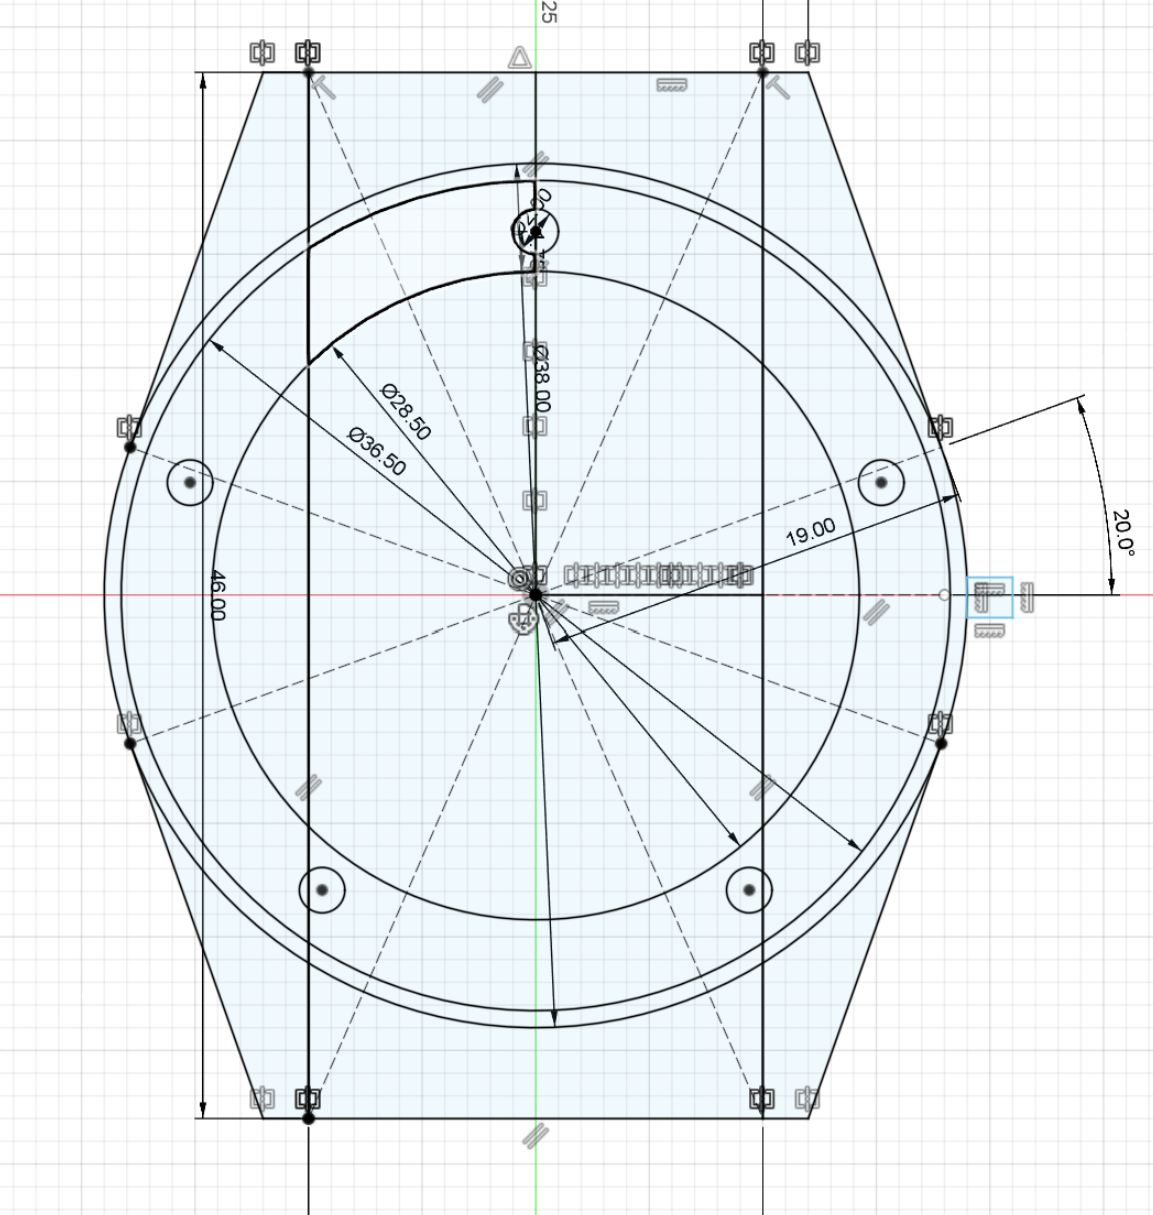
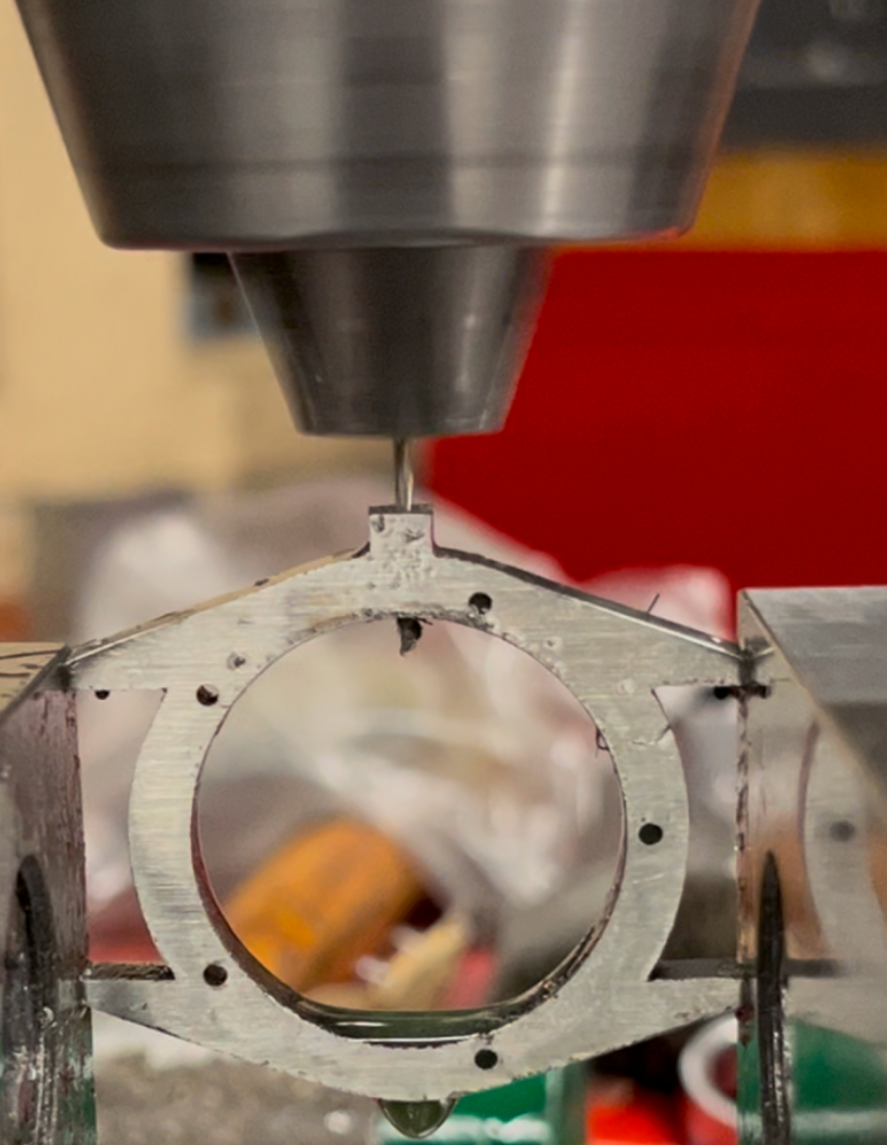
I started by using a high power fiber laser laser cutter to cut out my geometries for the bezel, caseback, and case, from my 316L bar stock. I used a mill to drill the screw holes into each part, and tapped them with a 1.6mm tap. I then had to make 0.04" diameter holes in the case to make room for the spring bars (strap pins) and the stem.
I moved to the lathe, and used a radius cutter to cut an acrylic barstock into a lens for the watch. However, after transitioning to manual machining, I quickly learned that the industrial sized lathes and mills would provide challenges when making a product as small as a watch. By simply tightening a vice too much I had already deformed the steel bezel. After these preliminary machining steps were done, I quickly pushed together the parts to get a feel for how they would look and feel in metal. Due to the thicker metal plates, the watch was significantly too thick, and felt and looked like a paperweight tied to my arm. I then managed to break my acrylic crystal while polishing it, when the polishing wheel threw the acrylic out of my hands to the floor. With damaged bezel, broken crystal, and a caseback that was significantly too thick, I seemed to be proving my TAs right.
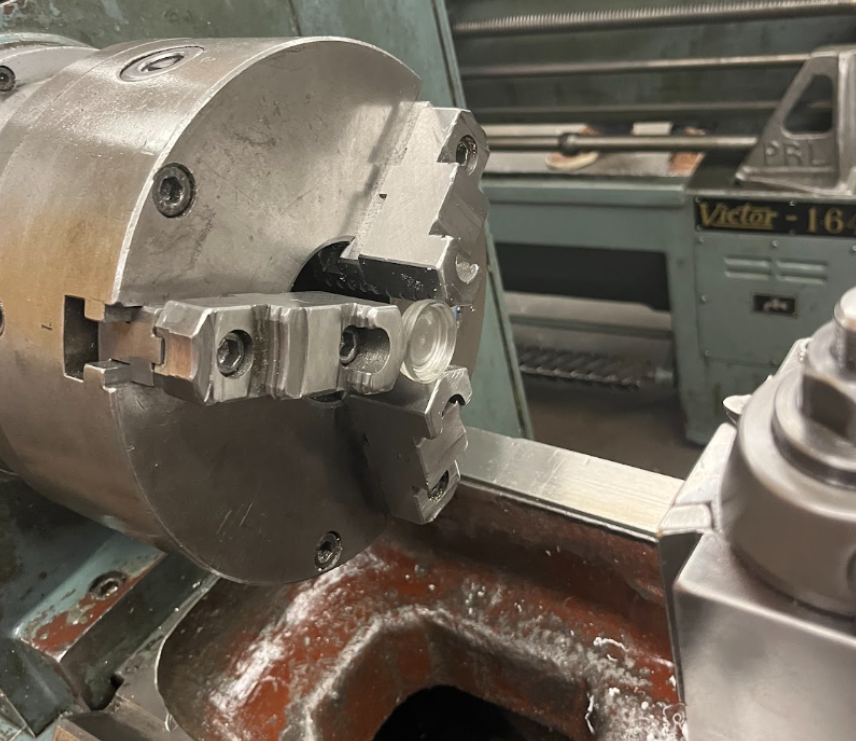
However, these experiences taught me a lot, and I set off on a new design. I milled down half of my bar stock to 3mm before using laser cutting, and repeated my prior steps. After more success, I moved on to the next steps, adding countersinks to my bezel, and tapping out threads to screw the caseback in. I then mounted the case on a lathe and turned it to create a tubular geometry on the side, which I then threaded with a 12-28 die to make threads for the crown to screw on. However, I started running into issues with holding pieces, since many pieces were under 4mm thick. Realizing I didn't have enough area to both hold the bezel or caseback while cutting them, I screwed them together and mounted both to the lathe, permitting me to create a chamfer on each. I realized that the acrylic crystal I was using was flat on the bottom and taking away room from the hands and dial (adding thickness), so I redesigned it to be double domed, (meaning a radius on each side (shaped like a ')' instead of a 'D'). However, being only a couple millimeters thick, I had little in the way of holding the piece on a lathe for the second radius cut, so I mounted it inside the bezel (the two were designed for a press fit), and clamped down the bezel in the chuck, effectively holding the acrylic and allowing for the second cut.
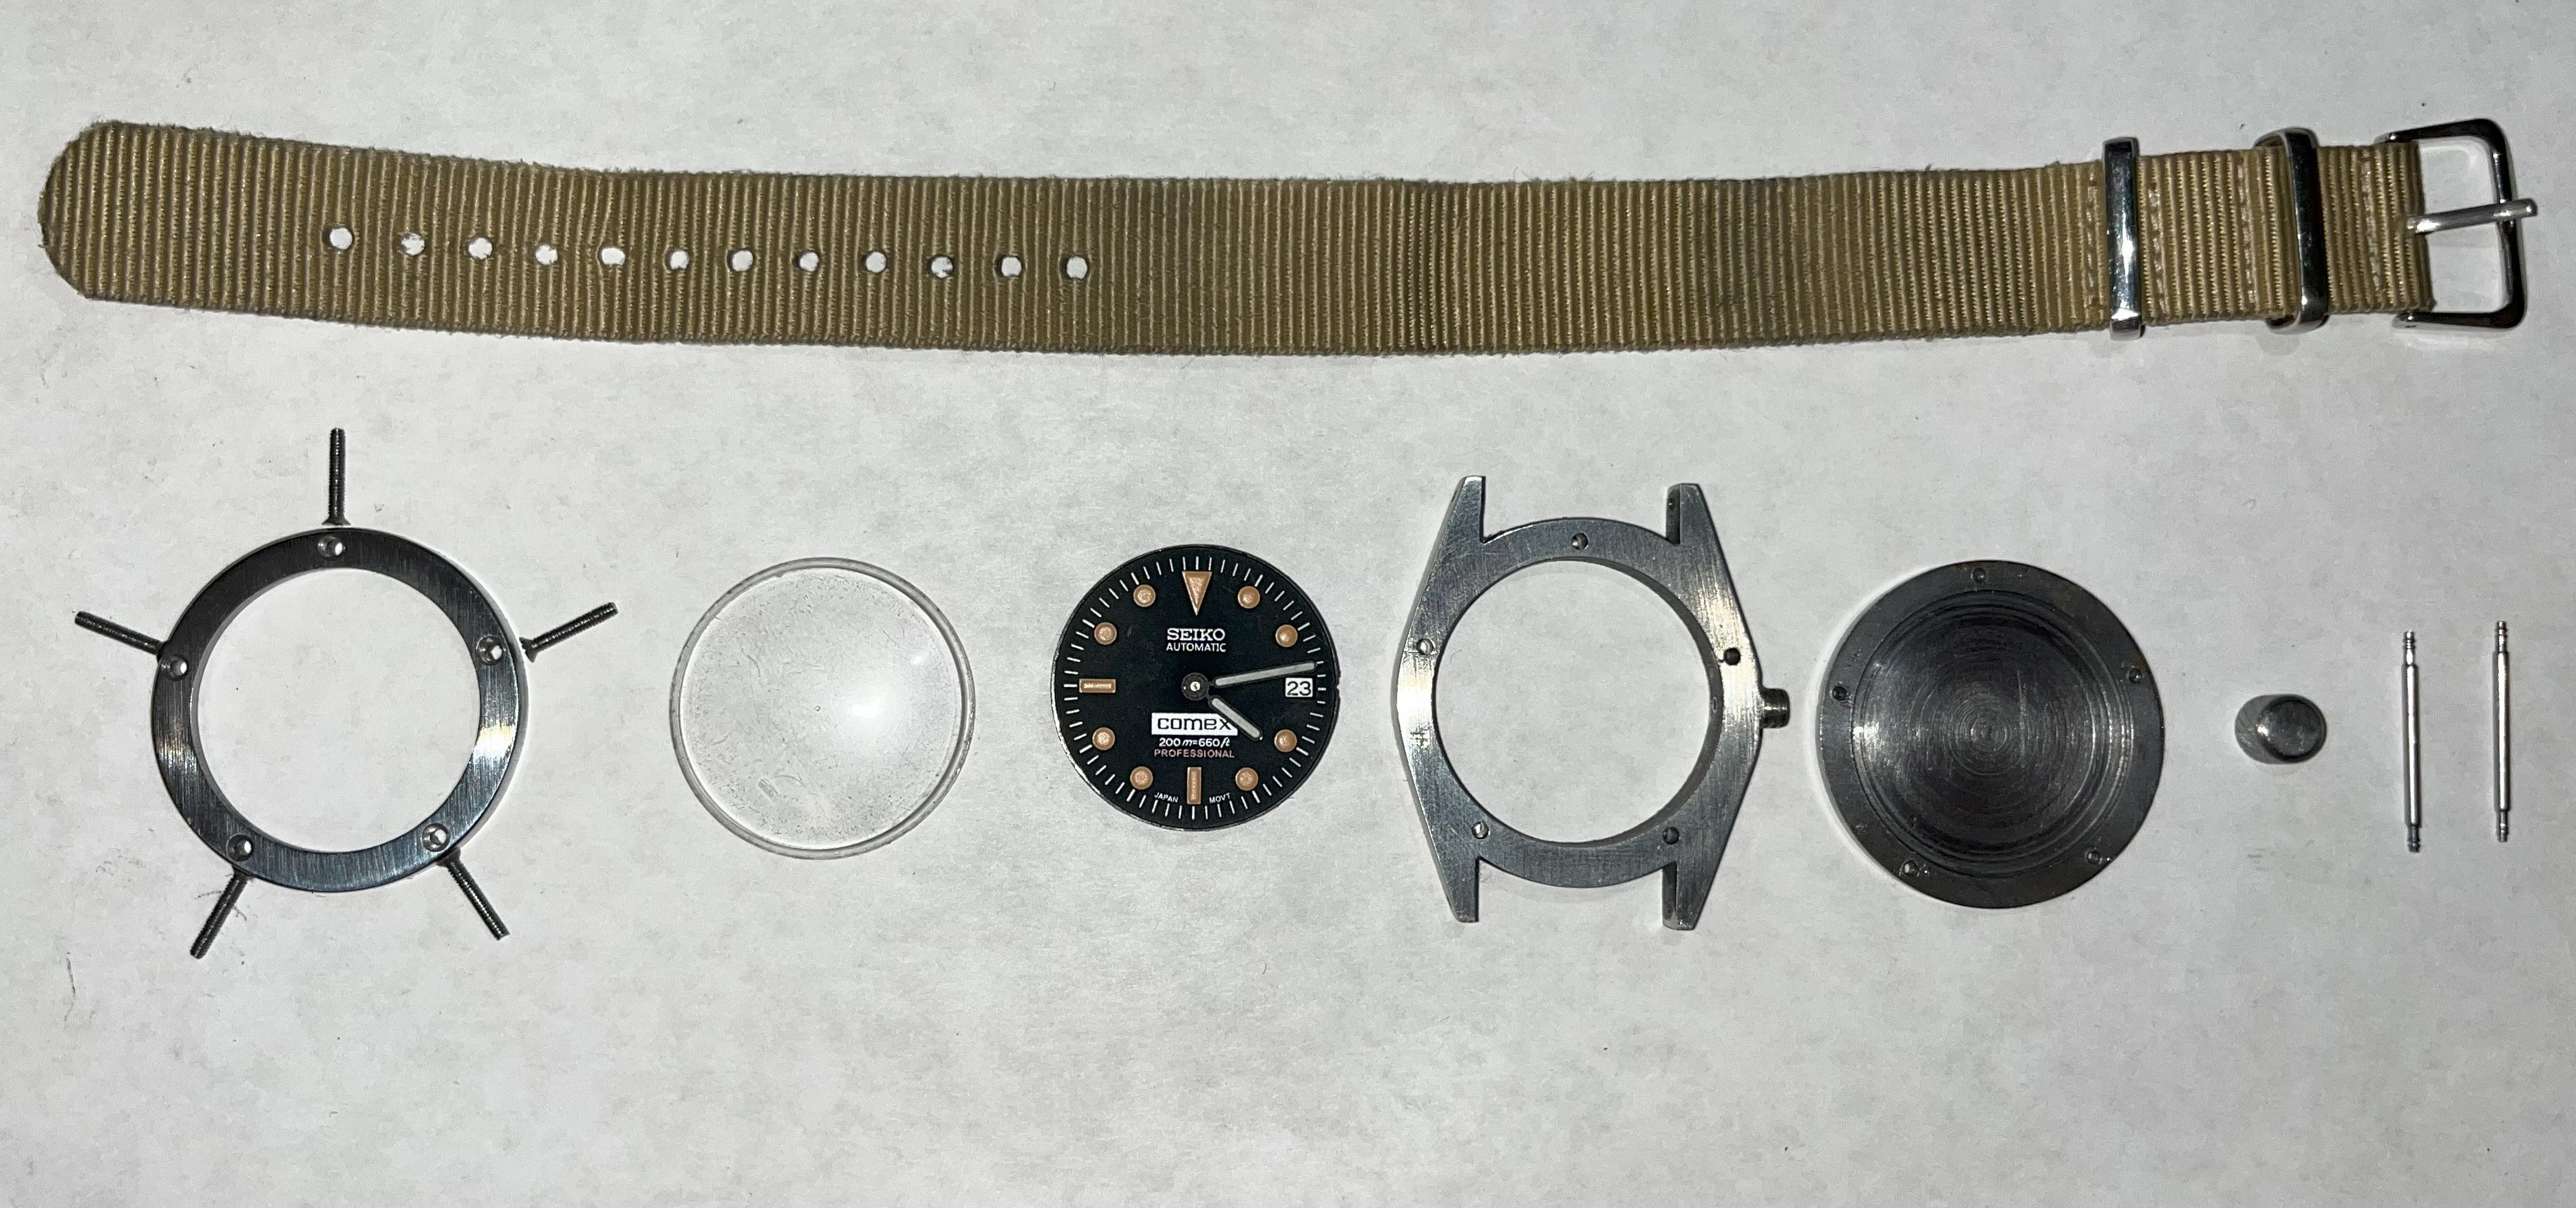
Finally, the end was in sight, and I used some scrap steel rod to create a crown, tapping in 12-28 threads and finishing with a chamfer and knurling. At this point, all the parts were finished being machined, and all fit together perfectly. I finished the watch using a brushed steel finish on the front face, which contrasted nicely with the polished chamfered edge, and polished up the lens. I wore the watch around on my wrist for the last week of school, and found it to be the perfect size and weight, though I may be slightly biased. My professor was very happy about the result during my presentation, and I continuned to wear it through the begininning of winter break, before gifting it to my grandfather for Christmas.
